
App Edit
Pressing EDIT on an application in the App List opens the workbench — the screen where you actually build. Everything happens here: you describe what you want on the left, and watch it appear on the right.
Edit App
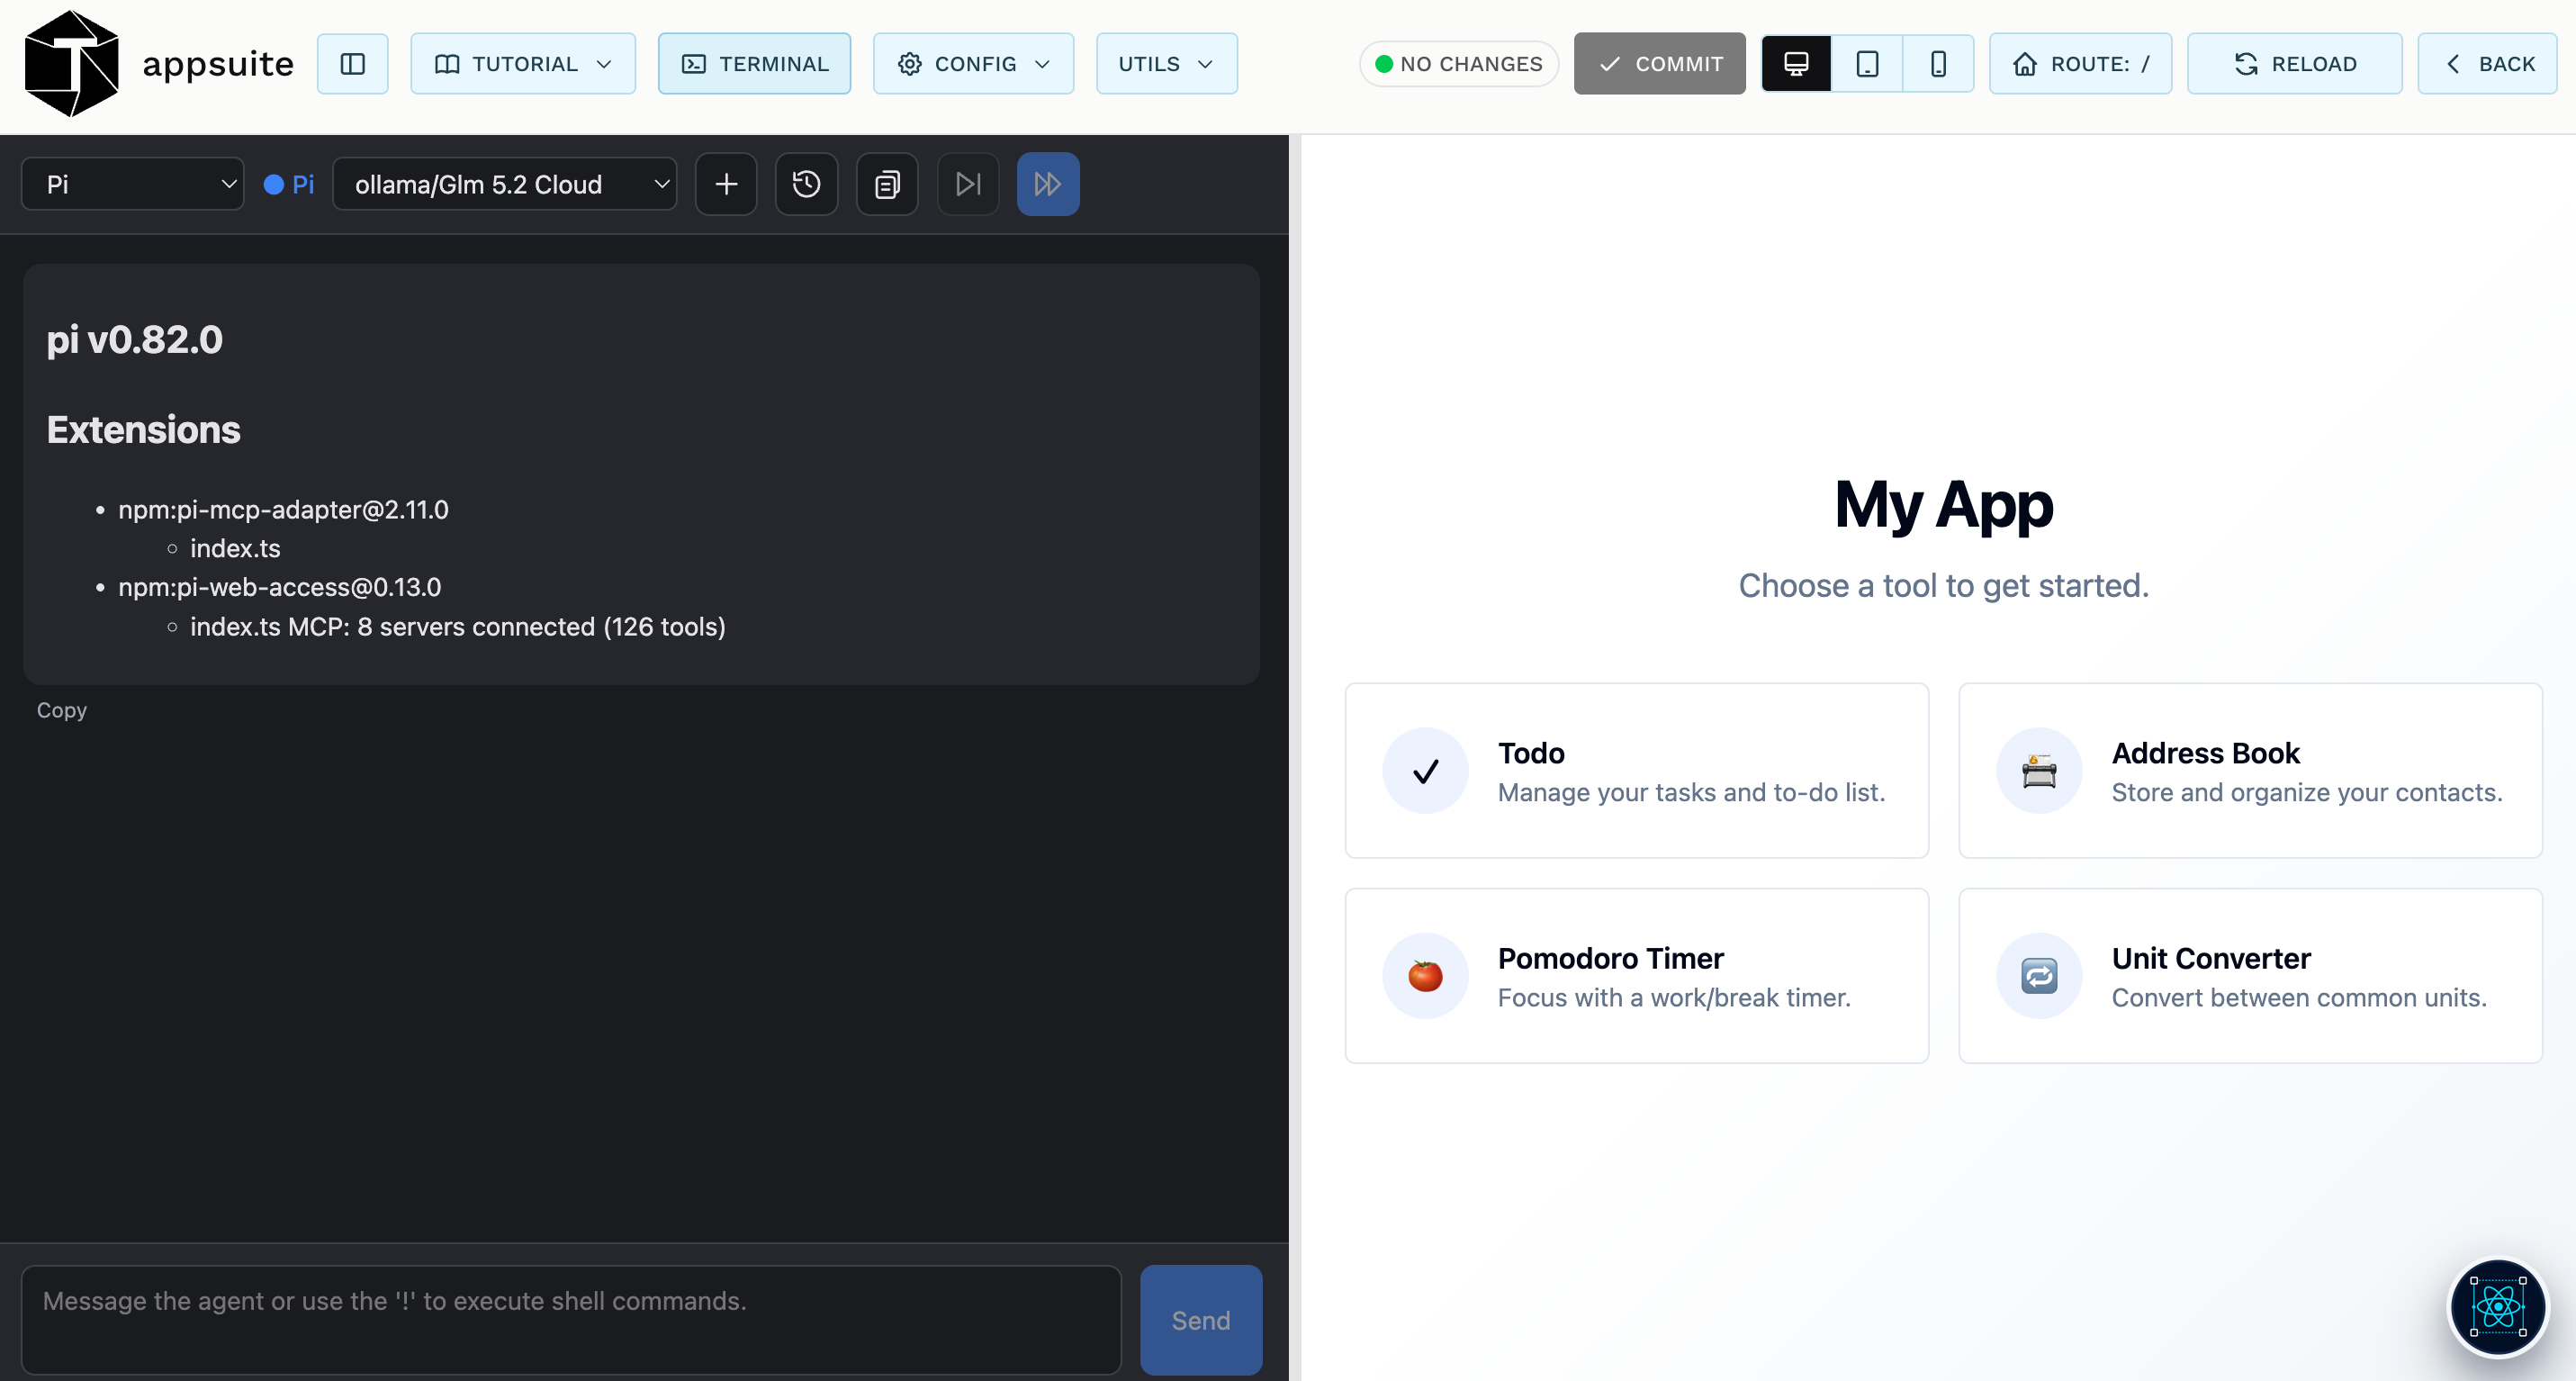
The workbench is a toolbar over two panes.
The left pane is the AI assistant, TruACP. It is a full conversation with the
coding agent — here it has just started, reporting pi v0.82.0, its loaded
extensions, and that 8 MCP servers with 126 tools are connected. Those tools are
what let the assistant do more than write text: query your database, read object
storage, deploy functions. At the bottom is the message box, which also runs shell
commands directly when you prefix them with !. See
Application chat.
The right pane is your application, running live — the real thing, not a mockup. When the assistant changes code, this pane updates. Clicking through it works exactly as it will for your users.
The divider between them can be dragged to give either side more room.
The toolbar splits in two: controls on the left act on the assistant and the application’s configuration; controls on the right act on the preview and your changes. The sections below follow that order.
Up left menu

From left to right: the sidebar toggle, then the TUTORIAL, TERMINAL, CONFIG and UTILS buttons.
Hide chat
The panel icon hides and shows the assistant pane so the preview can take the full width — useful when you want to look at your application properly rather than at the conversation.
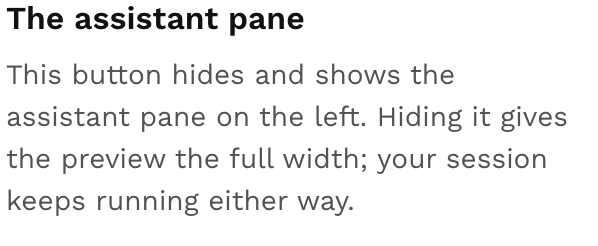
As the in-app tutorial puts it: “This button hides and shows the assistant pane on the left. Hiding it gives the preview the full width; your session keeps running either way.”
That last point matters. The assistant is only hidden visually, never stopped — nothing is reloaded and no conversation is lost, so you can toggle it as often as you like. The choice is remembered between sessions.
Tutorial
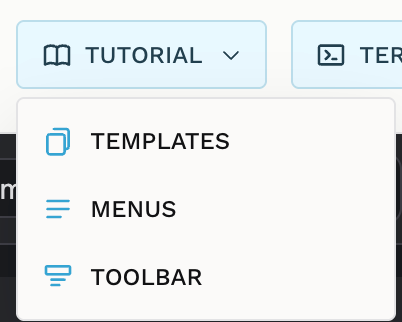
The TUTORIAL pulldown starts guided walkthroughs that spotlight each control in place and explain it — the same explanations quoted throughout this page. There are three:
- TEMPLATES — the prompt templates in the assistant pane, covered in Templates.
- MENUS — the Config and Utils pulldowns.
- TOOLBAR — the right-hand group: Commit, the device preview, Route, Reload and Back.
The Templates tutorial needs the assistant pane visible, so if you have hidden it the tutorial highlights the toggle first and waits for you to bring it back.
Terminal

TERMINAL opens a real shell inside your application’s directory, in a pane below the two panes rather than replacing either of them. It is a genuine terminal, not a command box: interactive programs, editors and long-running processes all work.
Drag its top edge to resize it; the height is remembered. Closing the pane ends the shell, so its visibility is deliberately not restored on the next visit.
Config
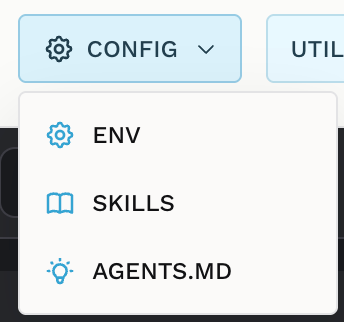
CONFIG holds the settings of the application you are editing — as the tutorial says, “its environment variables, the skills the assistant can use, and its AGENTS.md.” Three entries:
Env
Opens the environment-variable editor, with separate development and production values, exactly like the ENV button on the app list. This is also where the launch process sends you when an application is missing a required value, so a blocked launch can be fixed without leaving the workbench.
Skills
Skills are ready-made abilities you add to the assistant for this application — packaged instructions that teach it a particular job. Adding one clones it into the application so the assistant picks it up.
AGENTS.md
AGENTS.md is the instructions file the assistant reads before doing anything
in your application. It is where you record what the assistant cannot infer from
the code: conventions to follow, libraries to prefer, things never to touch.
Time spent here pays for itself — it is the difference between explaining your project in every message and explaining it once. The entry opens an editor with Save and Cancel; the file is created and added to Git if it does not exist yet.
Utils
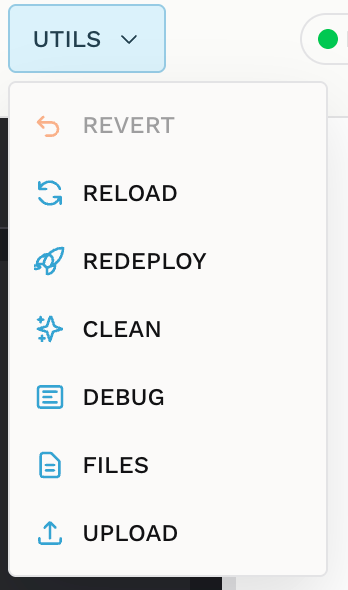
UTILS holds the actions you run against the application itself — “from reloading it to inspecting its files.” Seven entries, in order:
Revert
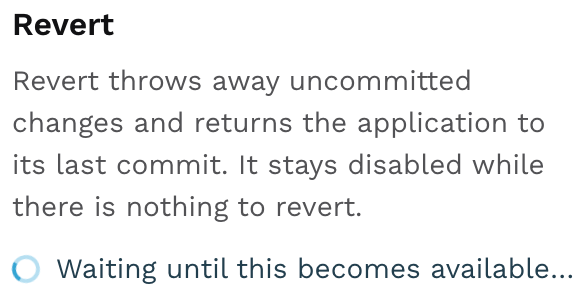
REVERT discards every uncommitted change and returns the application to its last commit. It is greyed out when there is nothing to revert — the same condition that disables Commit — which is why the tutorial waits for it to become available.
It asks for confirmation, and it means what it asks: reverting removes untracked new files as well as edits. Anything not committed is gone.
Reload and Redeploy
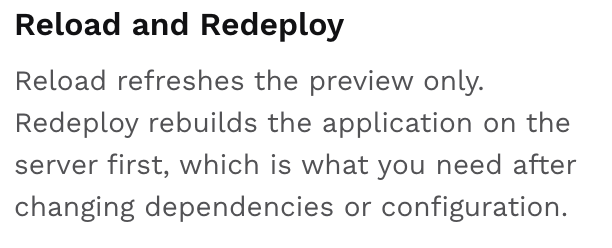
Two related actions, both in this menu:
- RELOAD refreshes the preview pane only. Nothing runs on the server. This is the cheap refresh for the usual case, where the dev server has already rebuilt in the background.
- REDEPLOY rebuilds on the server first — which is what you need after changing dependencies or configuration, since those are not picked up by a browser refresh. It runs a full cycle (stop the dev server, deploy the backend actions, list them, start the dev server, wait for it to answer) and reports each step in the preview pane as it goes.
Redeploy is in this menu on purpose: the toolbar reaches it only through a modifier key, so this is the discoverable path to it.
Clean
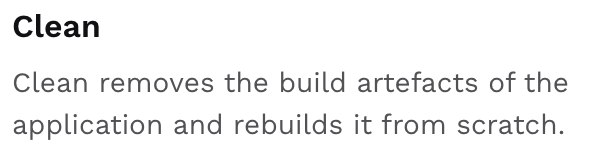
CLEAN removes the application’s local build artefacts — the virtual
environment, node_modules, built archives — and nothing else.
Note what it does not do: it does not rebuild. Cleaning stops the dev server, so the preview goes down and stays down until you redeploy; a plain Reload cannot bring it back. The result panel therefore offers a Redeploy button directly.
Use it when a build has got into a state you no longer trust and you want to start from clean dependencies.
Debug
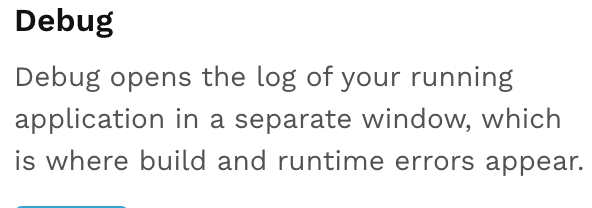
DEBUG opens a separate window streaming the live log of your running application — where build errors, runtime exceptions and the output of your backend actions actually appear.
When something does not work and the preview gives no clue, this is where to look first. The log streams as it happens, and closing the window stops it.
Files
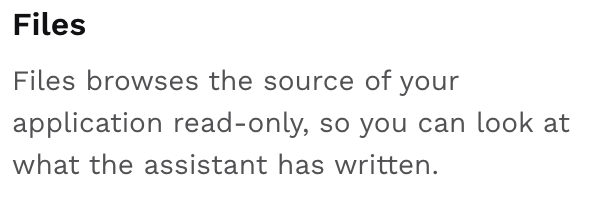
FILES browses the application’s source read-only: a file tree on the left, content on the right, with a Copy button and a Refresh for the tree.
It is for reading what the assistant has written — reviewing a change, checking where something lives — without leaving Trustable. There is deliberately no edit, create, rename or delete: editing happens through the assistant or the terminal. Content is always shown as plain text, so markdown appears as its source rather than rendered.
Upload
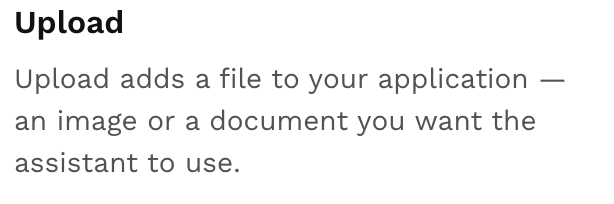
UPLOAD puts a file into your application — an image, a PDF, a dataset — so the assistant can work with it. After the upload Trustable shows the full path and lets you copy it, which is what you paste into your next message to point the assistant at the file.
Up right menu

The right-hand group: the git status pill, COMMIT, the three device buttons, ROUTE, RELOAD and BACK.
Commit
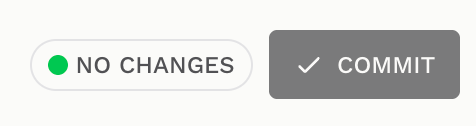
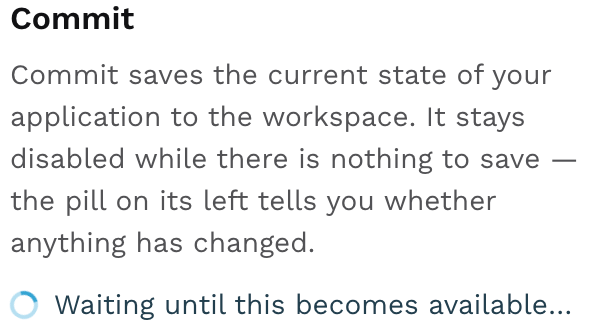
The pill and the button work together, and this pair is the most important thing on the toolbar.
The status pill polls the application every ten seconds and reports it: NO CHANGES with a green dot when everything is saved, or an orange dot with a summary like “3 changed, 1 added, 2 deleted” when it is not.
COMMIT saves the current state of the application into its durable repository, and is disabled while there is nothing to save.
Committing is not optional housekeeping. The working copy the assistant edits is temporary — it does not survive a restart of the application, and uncommitted work is permanently lost when that happens. Committing is the only way to keep it. Commit whenever the application reaches a state you would be unhappy to lose.
Previews

Three segmented buttons — desktop, tablet, phone — constrain the preview to a device viewport: tablet at 820×1180, phone at 390×844. Desktop fills the pane with no frame.
The device frames scale down to fit the pane, but the scaling is visual only: the preview still reports the true device width to your application, so its own responsive rules fire exactly as they would on the real hardware. That is the whole point — a shrunken desktop layout would tell you nothing.
Your choice is remembered between sessions.
Route
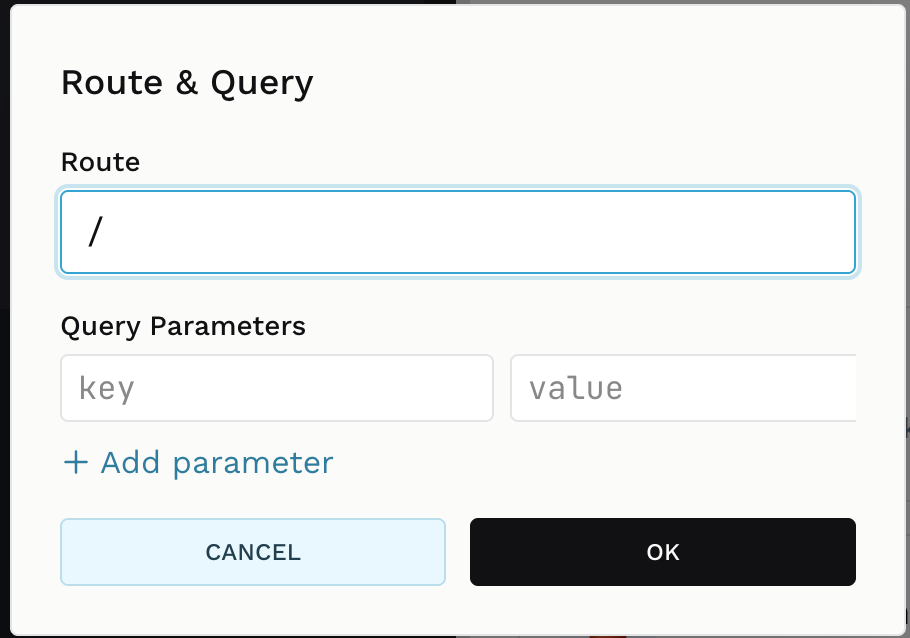
The ROUTE button shows which page the preview is on — ROUTE: / for the home
page — and clicking it opens the Route & Query dialog.
- Route — the path the preview opens at. Set it to
/settingsto work on that page directly instead of clicking your way there after every reload. - Query Parameters — key/value pairs appended as a query string. + Add parameter adds a row; each row has a × to remove it. Rows with an empty key are ignored.
OK applies both and reloads the preview at the new address; CANCEL leaves everything untouched. Your choice persists, so reloads keep landing on the page you are working on.
Reload
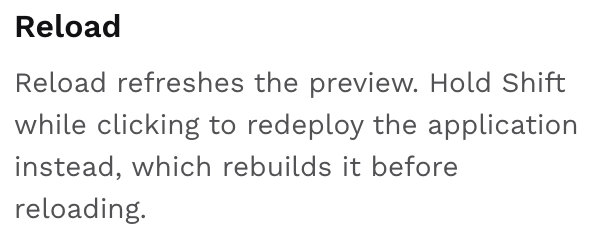
RELOAD refreshes the preview, keeping the current route and query and busting the cache. No server call, no waiting.
Press shift to get redeploy
Hold Shift and the same button becomes REDEPLOY — rocket icon and all — running the full server-side rebuild described under Utils above.
The label changes while you hold the key, before you click, so the modifier is visible rather than hidden. Both actions are also in the Utils menu if you would rather not use the modifier.
Back
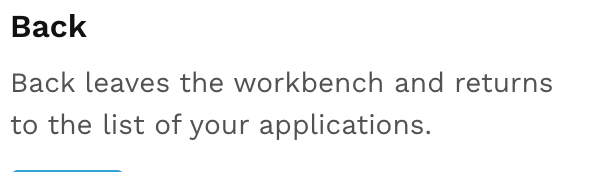
BACK leaves the workbench and returns to the application list, stopping the application’s processes on the way out.
If you have uncommitted changes it warns you first, under the heading “Uncommitted Changes”, offering Go back anyway and Cancel. Leaving is not itself destructive — it only stops the running processes — but the working copy does not survive a restart, so uncommitted work will be lost the next time the application is launched. The warning is about that risk, not about the navigation. If in doubt, Cancel and Commit first.
Next
- Application chat — the assistant in the left pane.
- Templates — reusable multi-step prompts.