
App Chat
The left pane of the workbench is where you actually build. You describe what you want in ordinary language and the assistant writes the code, creates the backend actions, wires the data, and the preview on the right updates.
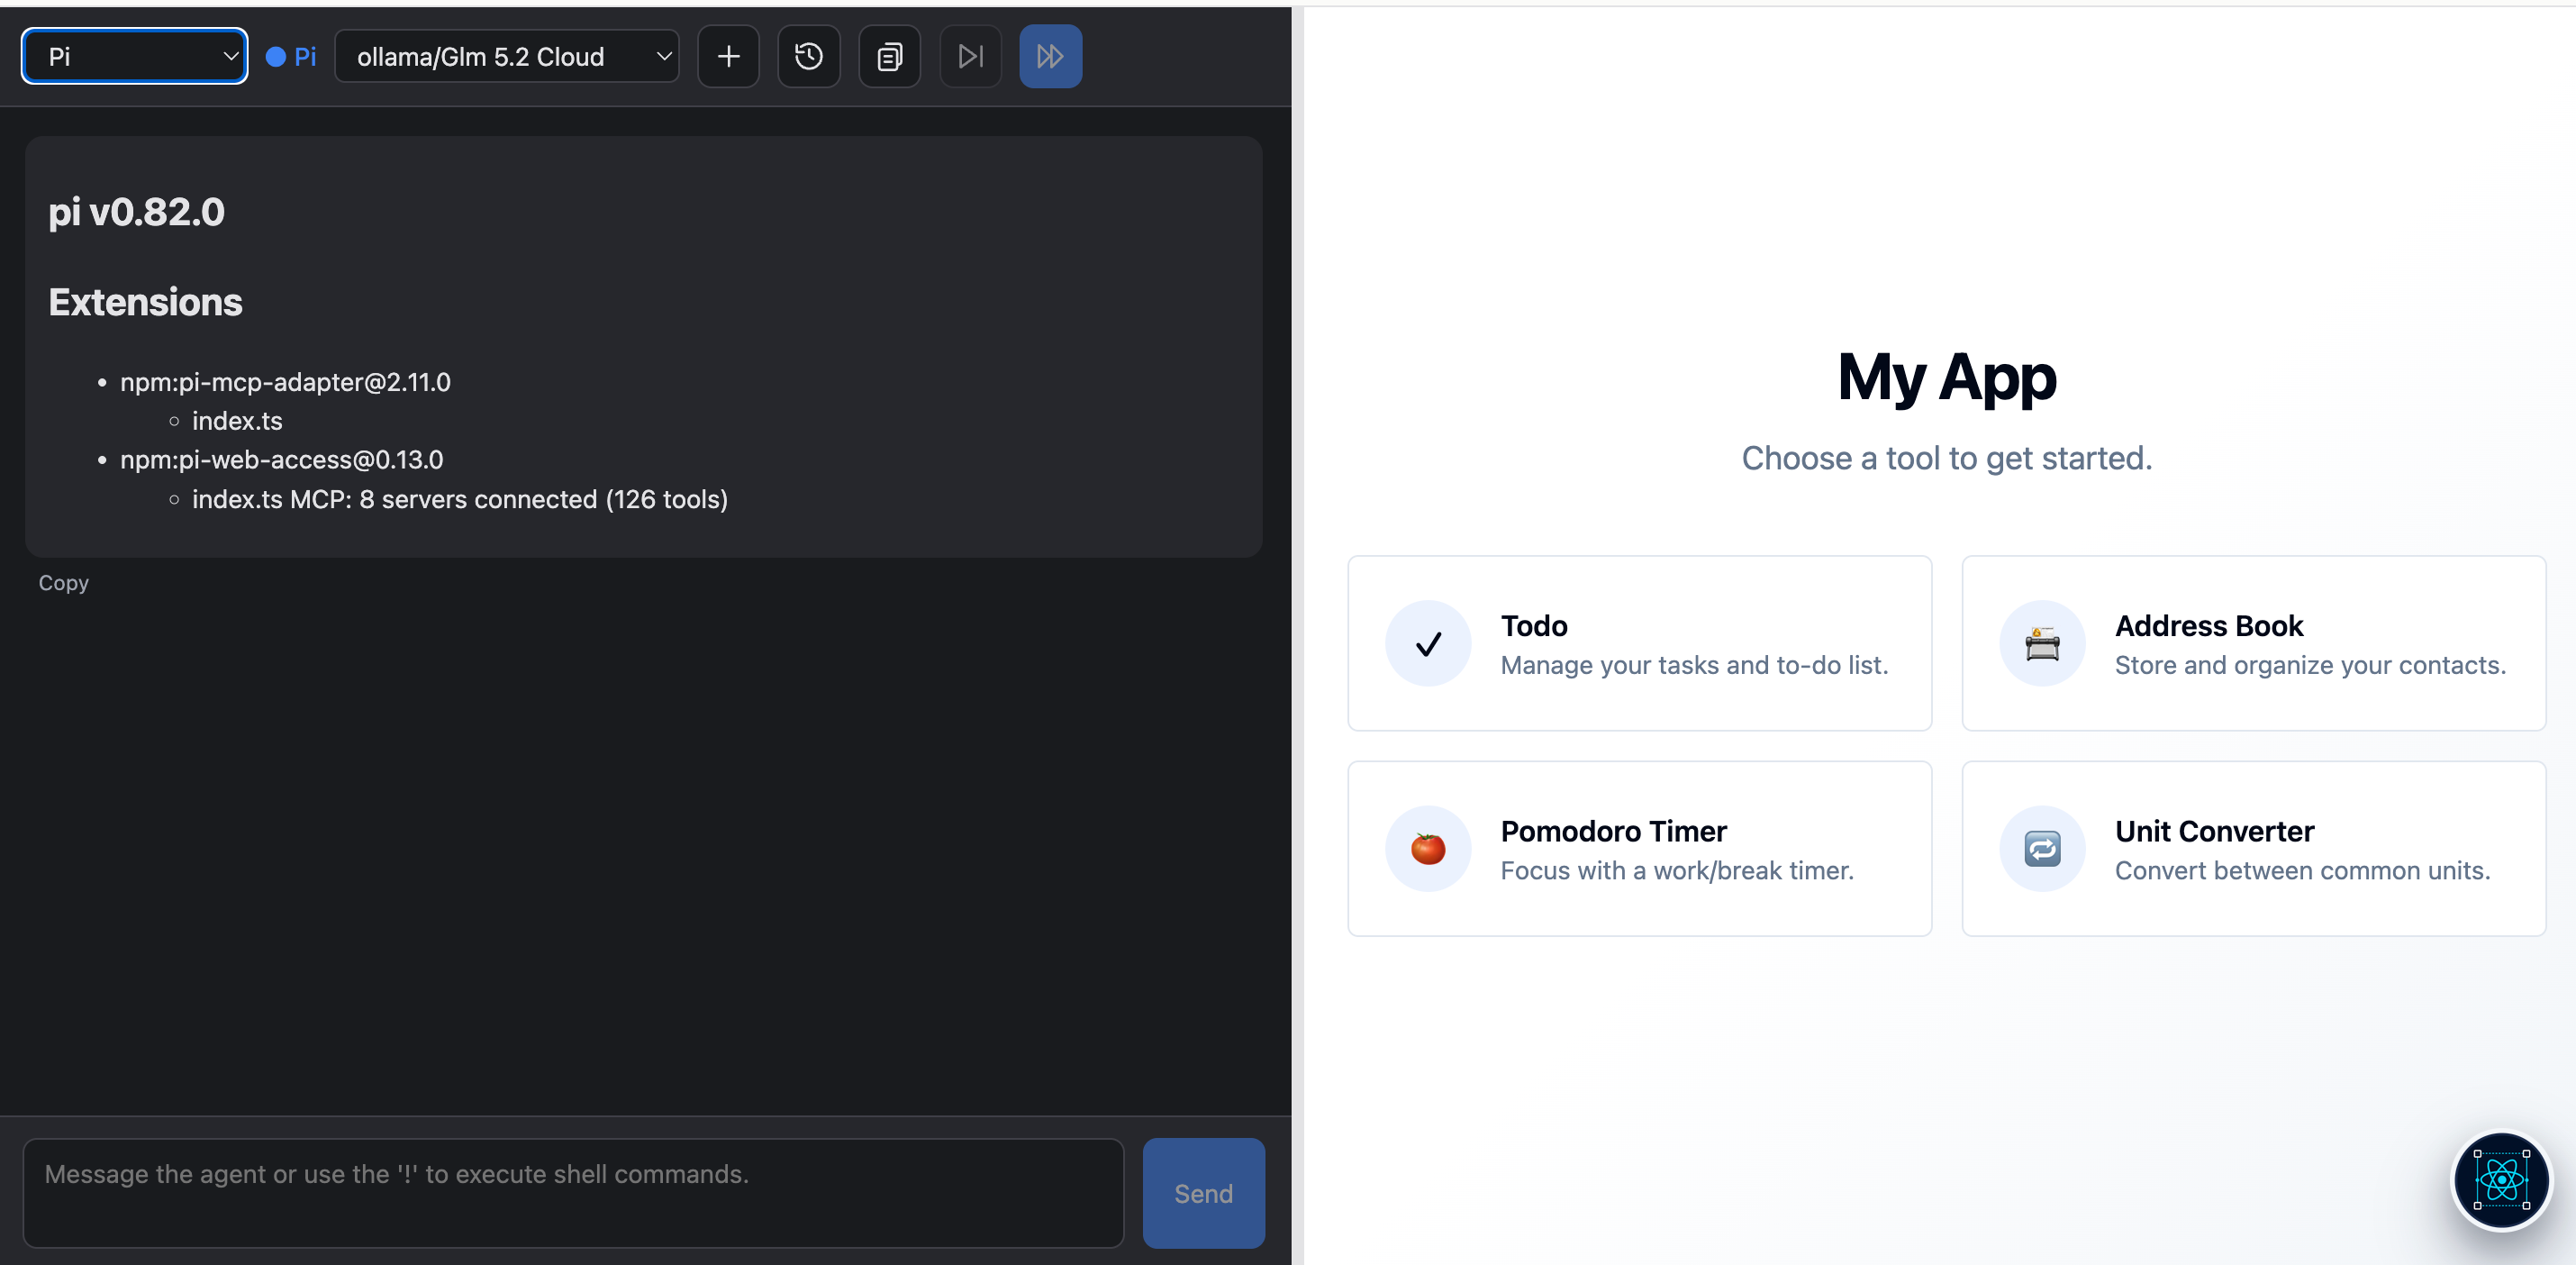
The pane is TruACP — the Trustable Agent Control Panel — and it is a full coding agent, not a chat widget. It has three parts: a toolbar along the top, the conversation in the middle, and the message box at the bottom.
The opening message reports what is running. Here: pi v0.82.0, the agent’s
loaded extensions, and — the important line — MCP: 8 servers connected (126 tools). Those tools are the assistant’s hands. Through them it reaches your
PostgreSQL database, Redis, object storage, the vector database and the
serverless runtime directly, which is why it can build a working application
rather than only produce files.
Menu

The toolbar, left to right: the agent selector, a connection indicator, the model selector, then new session, resume session, templates, run next step and run all steps.
Select Agent
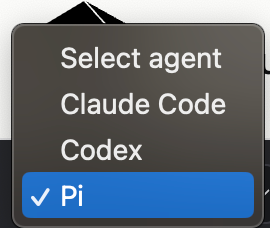
Trustable can drive more than one coding agent, and this dropdown chooses which: Claude Code, Codex, or Pi. Pi is the default and the one Trustable configures for you — the model you picked during setup is Pi’s model.
The dot next to the selector shows the connection state of the selected agent.
Select Model
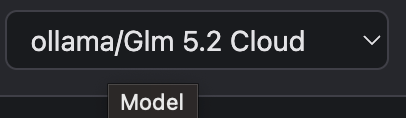
The model the agent uses for this session — here ollama/Glm 5.2 Cloud. It is
prefilled from your configured default, and changing it here affects this session
only; the permanent default lives on the
Configuration page.
Switching model mid-project is a normal thing to do: a larger model for architectural work, a faster one for small mechanical edits.
New session

The + button starts a fresh conversation, clearing the context the assistant is carrying.
Start a new session when you move to an unrelated task. A long conversation about the login page is dead weight — and cost — when you turn to the reporting screen, and a clean start usually produces better results than one crowded with irrelevant history. Your code is untouched; only the conversation resets.
Resume session
The clock icon reopens an earlier session with its context intact — useful when you come back to work you left half-finished, or after a new session turns out to have been premature.
Sessions belong to the application and survive leaving the workbench, so yesterday’s conversation is still there tomorrow.
Open template

The document icon opens the Templates panel described below. It is also where the Templates tutorial starts: “Click here to open your templates.”
Templates
A template is an ordered list of prompts — a recipe. Instead of typing five instructions in sequence and waiting for each, you load a template and run its steps, in order, one at a time or all at once.
They are the answer to work you do repeatedly: adding a page, adding an API endpoint, wiring a database table. Someone writes the sequence once, and everyone runs it.
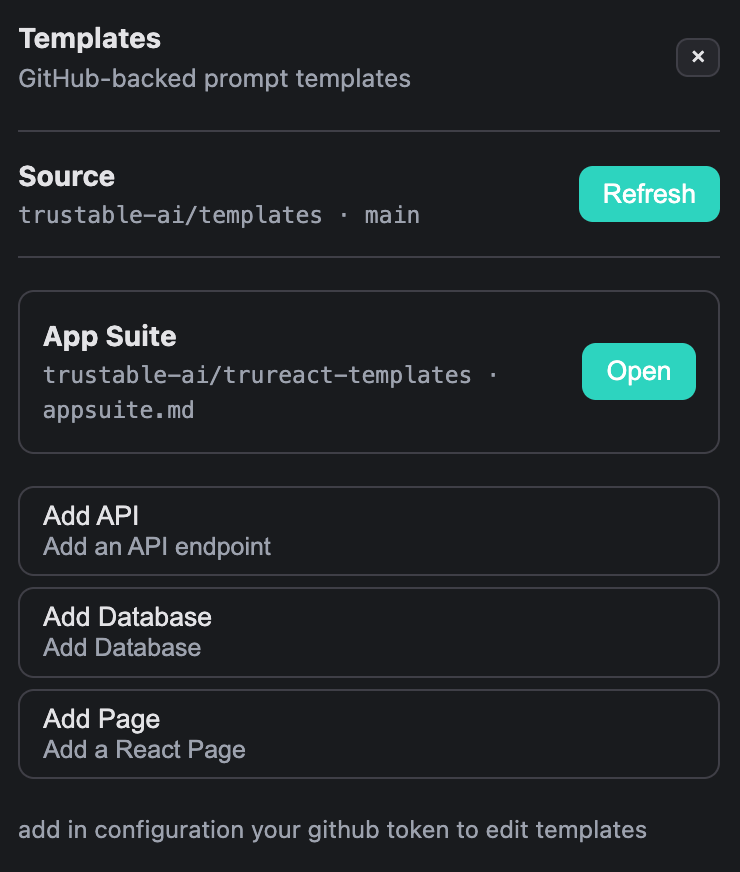
The panel has three parts:
- Source — the GitHub repository and branch the catalog is read from, here
trustable-ai/templates · main, with a Refresh button. It is set on the Configuration page. - The working copy — at the top, in its own box. This is the template
currently loaded into your application, shown with its name (App Suite),
where it came from, and an Open button. The working copy lives in your
application as
template.md, so a template travels with the application and is published with it. - The catalog — the templates available in the source repository, each with its name and description: Add API (add an API endpoint), Add Database, Add Page (add a React page). Selecting one copies it into your application as the new working copy.
At the bottom: “add in configuration your github token to edit templates.” Read access needs no credentials, so browsing and running templates always works. Saving your edits back to GitHub does need a token, and until one is configured those controls are simply absent rather than shown broken. Your local edits still save to the working copy.
The Templates tutorial walks the same panel:

Open the panel with the template button.
Refresh re-reads the catalog from GitHub — use it if a template you expect is not listed.
Creating templates and connecting your GitHub account are done from Configure, not here.
Click a catalog entry to load it. Replacing a working copy that has unsaved edits asks first; replacing an untouched one is silent.
Close the panel to see the loaded template’s steps in the conversation.
Each step appears as its own node in the conversation, with a short title taken from its first heading and the full prompt available under a Task details disclosure. Each node shows its state on its left edge: Not run (muted), Running… (amber, pulsing), or Run (green) — so you can see at a glance how far through the recipe you are. Steps can also be edited, reordered and removed before you run them.
Then run the first step.
While a step runs, the assistant works exactly as it would on a message you typed yourself — reading files, writing code, calling tools.
Run next step

The ▷| button runs the selected step and advances the selection to the next one, so repeated clicks walk the template one step at a time.
This is the careful way through a template: you see each result and can correct course — or edit the next prompt — before continuing. The button is disabled when nothing is selected, and while a run-all is in flight.
Run the all template

The ▷▷ button runs every step from the current selection to the end, without stopping.
Use it for a template you trust and have run before. For anything new, step through it once first — a template that goes wrong at step two will otherwise keep building on that mistake through step five.
Chat

The message box: “Message the agent or use the ‘!’ to execute shell commands.”
Two modes in one field. Plain text is an instruction to the assistant — “add a
dark mode toggle to the settings page”. A line starting with ! is run as a
shell command in your application’s directory instead, with the output
returned in the conversation, which is quicker than opening the Terminal for a
one-off !npm ls or !git log --oneline -5.
Some advice on the instructions themselves: name what you want changed and what
the result should be, and say what to leave alone when it matters. The assistant
can see your code, so you rarely need to describe it — but it cannot see your
intentions, and standing intentions belong in AGENTS.md
(see Editing) rather than in every message.
TruACP (Trustable Agent Control Panel)
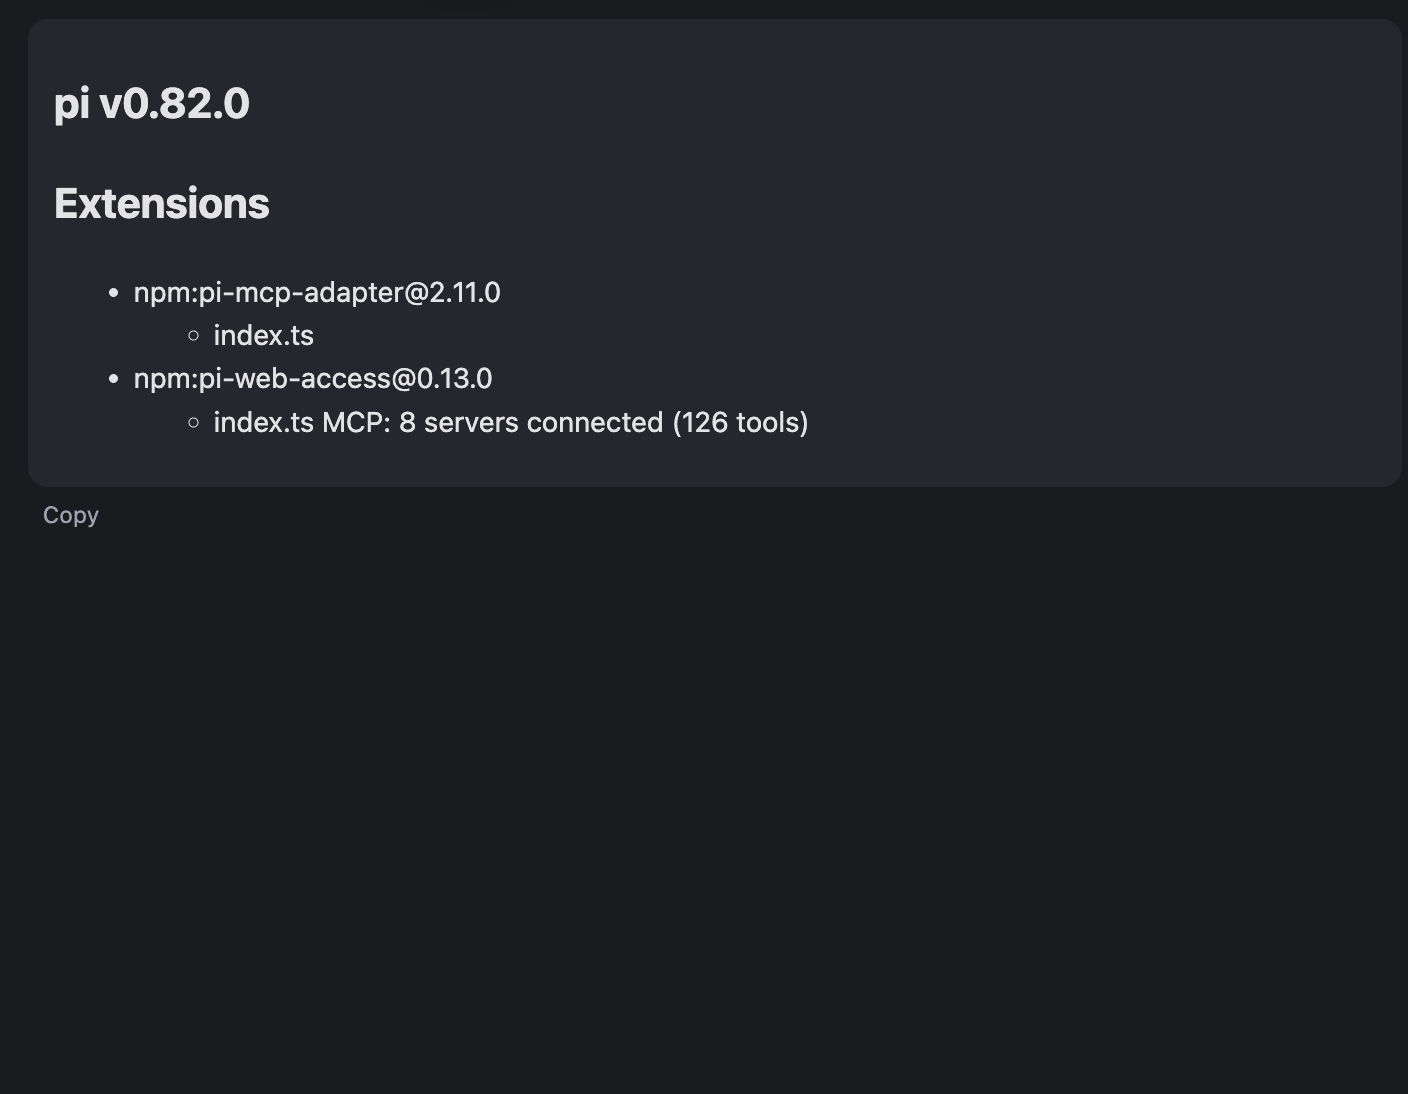
The conversation area itself. Every message — yours, the assistant’s, tool output, template steps — appears here in order, and each block has a Copy action.
This is also where you follow what the assistant actually did: which files it read, which it wrote, which tools it called. When a result surprises you, the answer is almost always visible in this transcript.
Preview panel
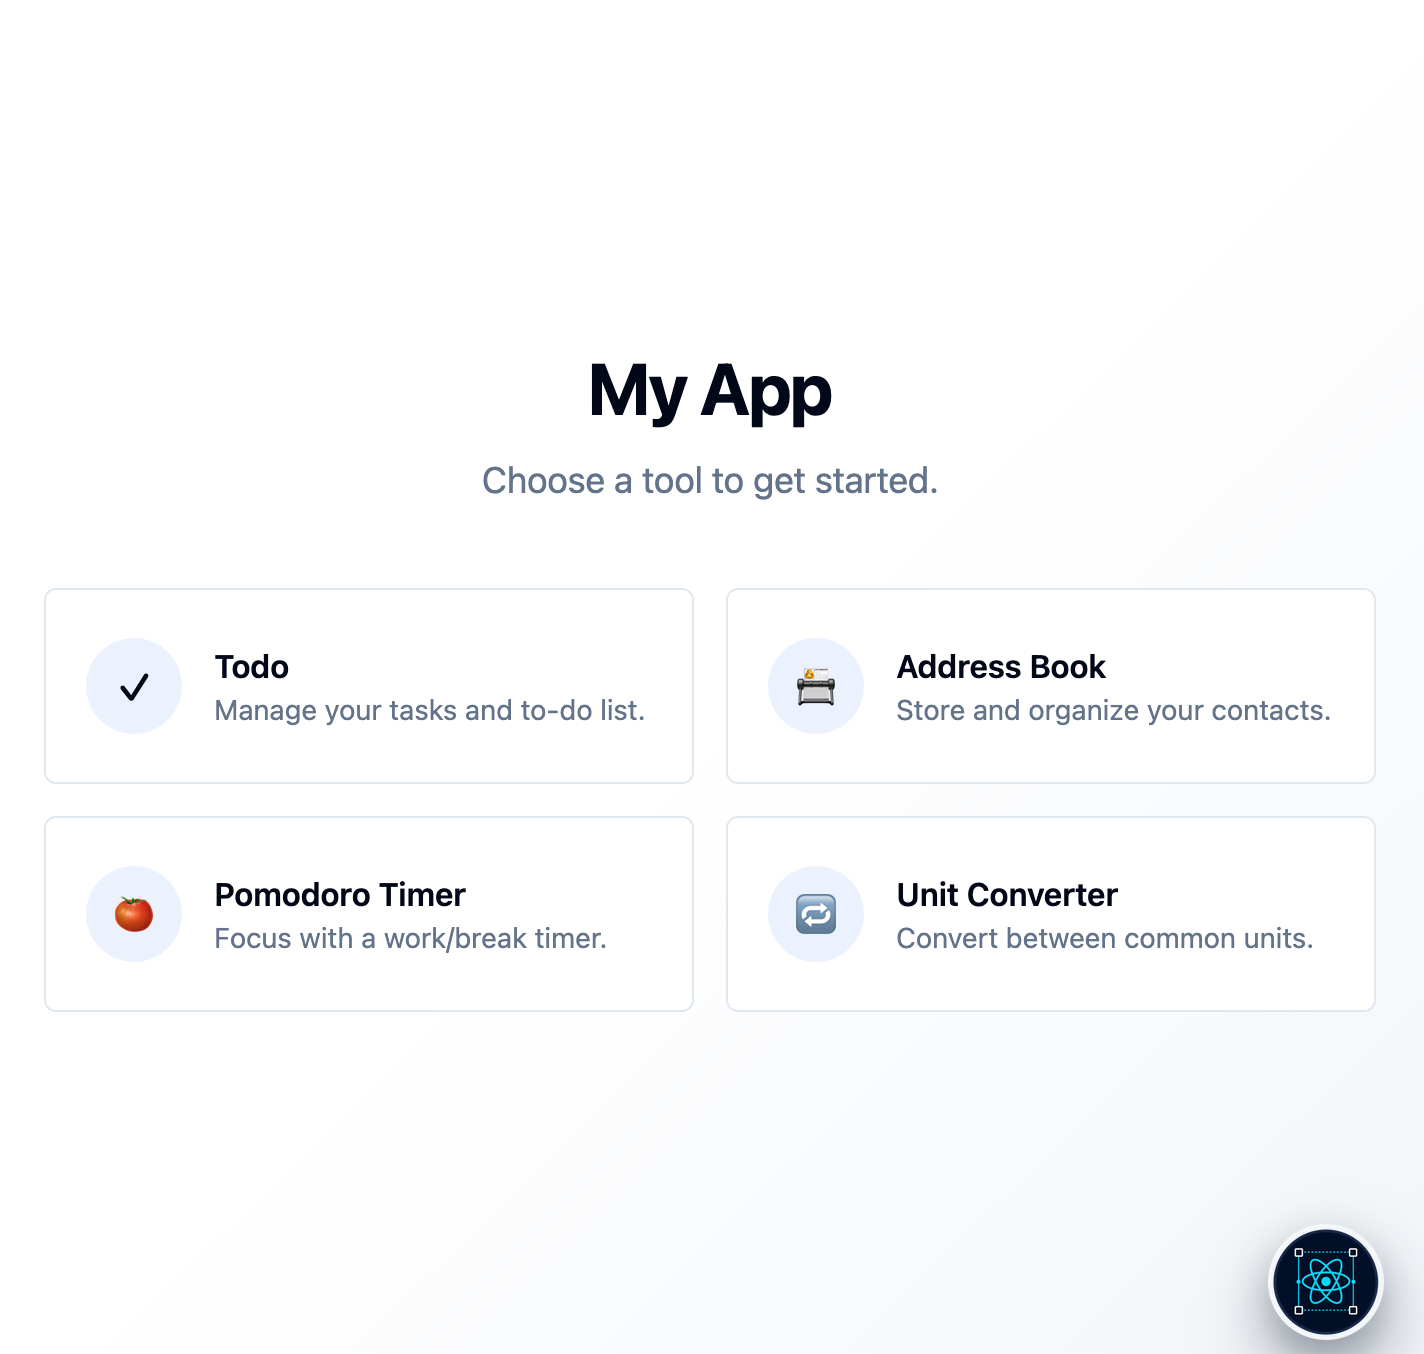
The right-hand pane, running your application live. This is what the assistant just built — a working React application with real navigation, not a mockup.
Because it is the real application, you interact with it exactly as your users will: click through it, fill in forms, check the flows. That immediate feedback is the point of the two-pane layout — describe, watch, refine, without a build step in between.
Type select mode
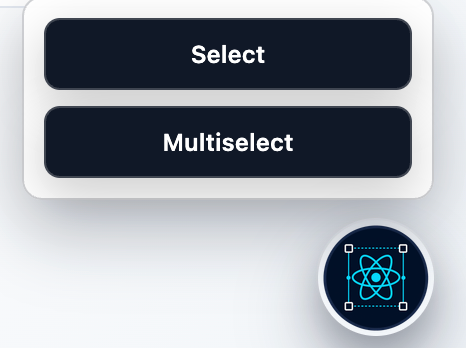
The floating badge in the corner of the preview opens an element selector: Select picks one element on the page, Multiselect picks several.
It solves the problem of describing where something is. Rather than writing “the second heading inside the card on the right”, you click the element itself and the assistant receives the reference — then you say what should change about it. For a change that touches several places, Multiselect gathers them into a single instruction.