
Configuration
The Configure page is reached from the Configure button on the App List. It is where you review and change everything that applies to the whole workbench rather than to a single application: which AI provider is in use, which models are available and which one writes your code, your license, your Git identity, and the values shared across applications.
The page is a stack of cards, rendered top to bottom in the order below. One button at the very bottom — Save & Configure — commits the model-related cards; a few cards (Predefined Environment Variables, License, GitHub Account) save themselves independently so that editing them does not re-run a model test.
Current provider
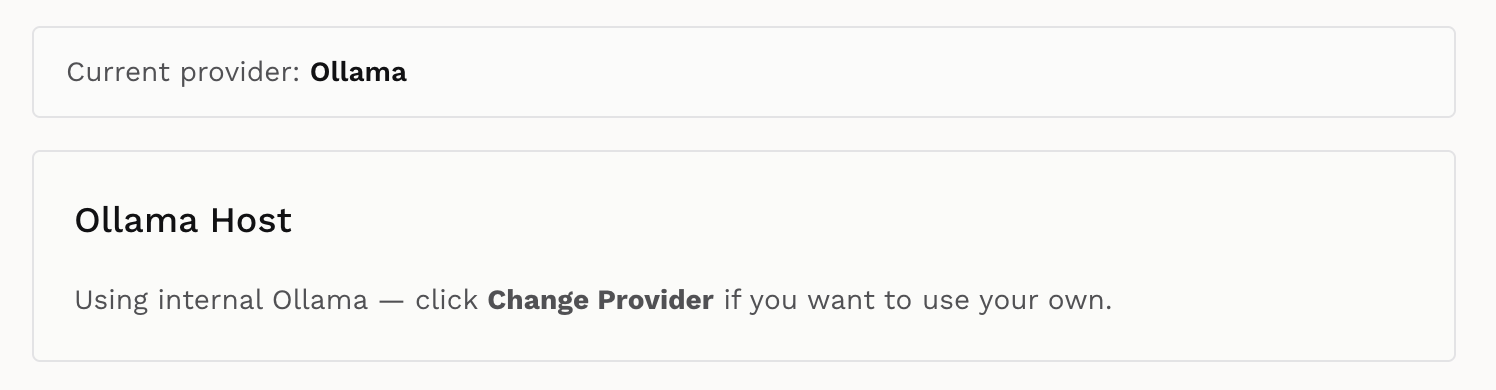
The header states which provider is active — here Ollama, meaning the Cloud AI card chosen at setup. Next to it, a Change Provider button takes you back to the provider-choice screen described in Setup, and picking a provider there reseeds the model list from scratch.
Provider choice is deliberately not re-prompted on this page. Once you have a provider, Configure always opens straight into the model editor.
Ollama Host
Directly under it, when the provider is Ollama, is the Ollama Host card. Using the internal Ollama server — the normal Cloud AI case — there is nothing to set, and the card says so: “Using internal Ollama — click Change Provider if you want to use your own.”
Pointing Trustable at an Ollama server of your own is done through the Private AI card on the provider screen, which asks for the endpoint URL and then discovers its models directly from your machine.
Provider models
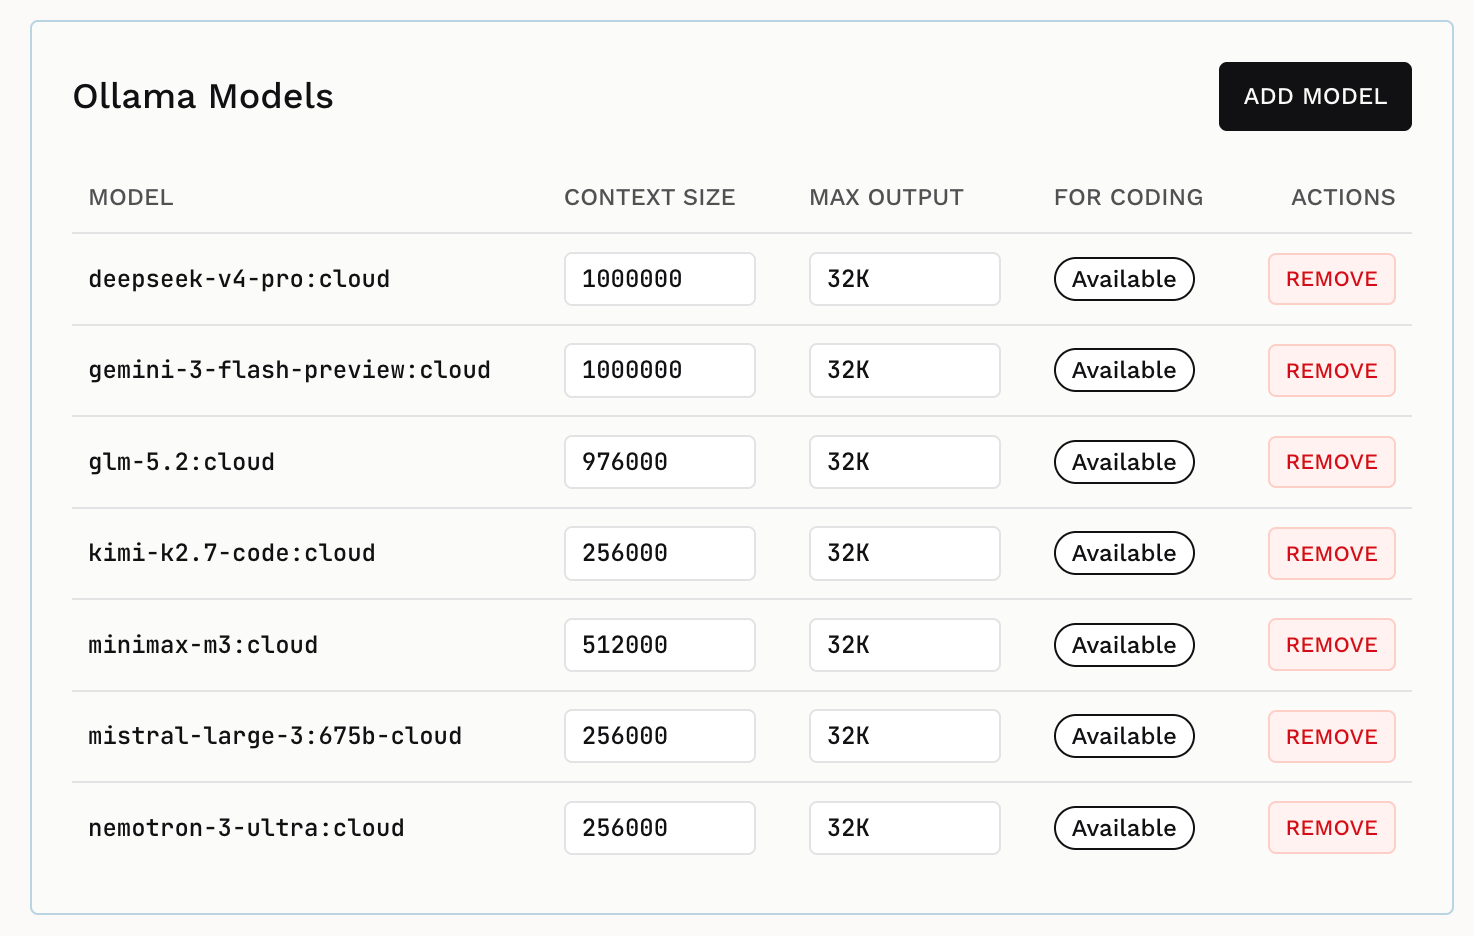
The Ollama Models table lists every model the current provider offers. The heading follows the provider, so it reads Trustable Models or Private AI Models for the other two.
Each row carries:
- MODEL — the model identifier, exactly as the provider names it. The
:cloudsuffix marks Ollama Cloud models, which run remotely rather than on your machine. - CONTEXT SIZE — editable. How much text the model can consider at once, in tokens. Larger contexts let the assistant hold more of your codebase in view. Leaving it empty means “use the default” (128 000).
- MAX OUTPUT — editable. The upper bound on a single reply. Default 32K.
- FOR CODING — whether the model can be selected to drive the coding agent.
Availablemeans yes.Hidden, with a short reason, means no — typically an embedding, rerank or vision model, or one below the recommended 20B parameter minimum. Hidden models stay visible here on purpose, so you can see what your provider actually offers, but they cannot be chosen as the coding model. - ACTIONS — REMOVE deletes the row, and ADD MODEL at the top adds one. These edit your list only, never the provider’s catalog: use them to hide models you never want to see, or to declare one your endpoint did not advertise.
Whether the table is editable depends on the provider. Ollama and Private AI lists are yours to edit. The Sovereign AI (Trustable) list is authoritative and read-only; instead of Add/Remove it offers a Refresh button that re-fetches the catalog.
When your provider publishes a new catalog version, Trustable notices on the next page load, saves the new list, and sends you back here with a banner asking you to re-pick the coding model — because the one you had chosen may no longer exist.
Pi Model
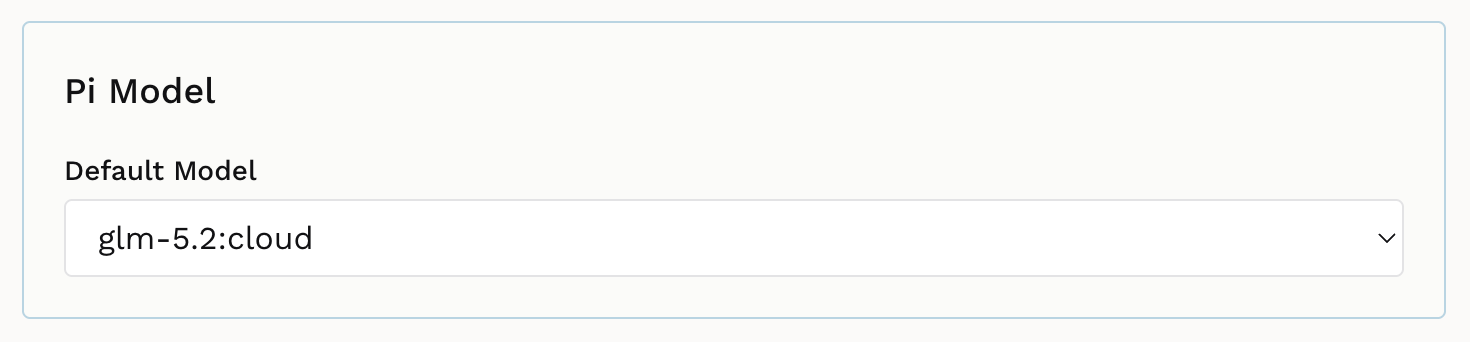
Pi is the coding agent inside Trustable — the thing that reads your request and writes the code. The Default Model dropdown is where you choose which model it uses, and it is the single most consequential setting on this page.
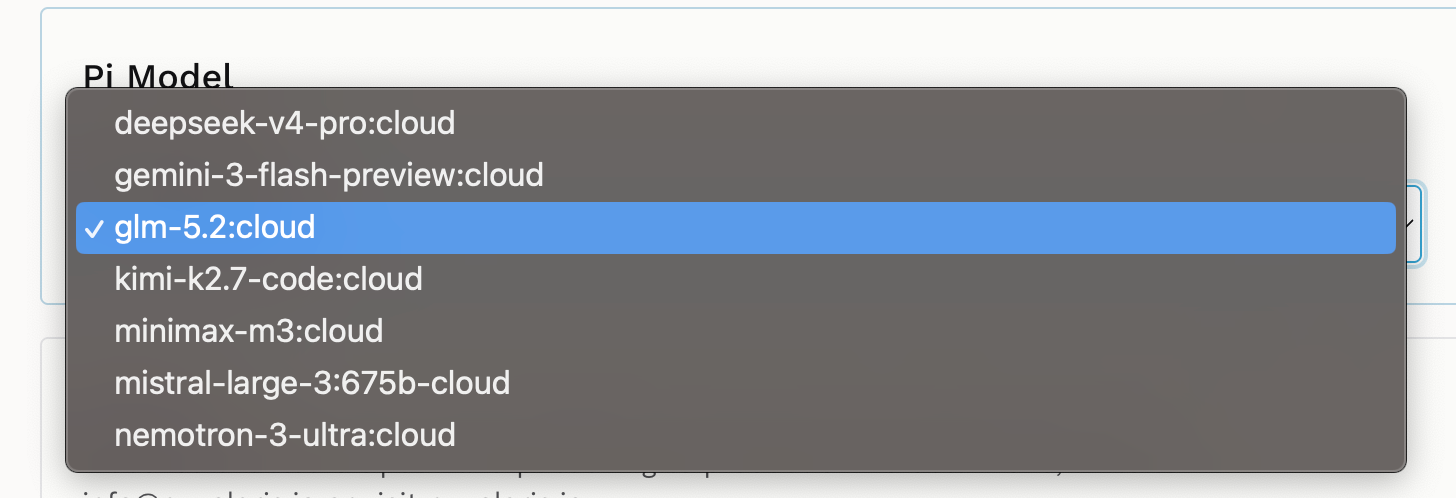
The dropdown lists only models marked Available in the table above. Everything
judged unsuitable for coding is filtered out, so you cannot accidentally point
the agent at an embedding model — and the rule is enforced on the server too, not
just in the browser, so it holds however you save.
A checkmark marks the current selection. There is no separate “small” or “secondary” model to configure: one choice covers all agent work.
License
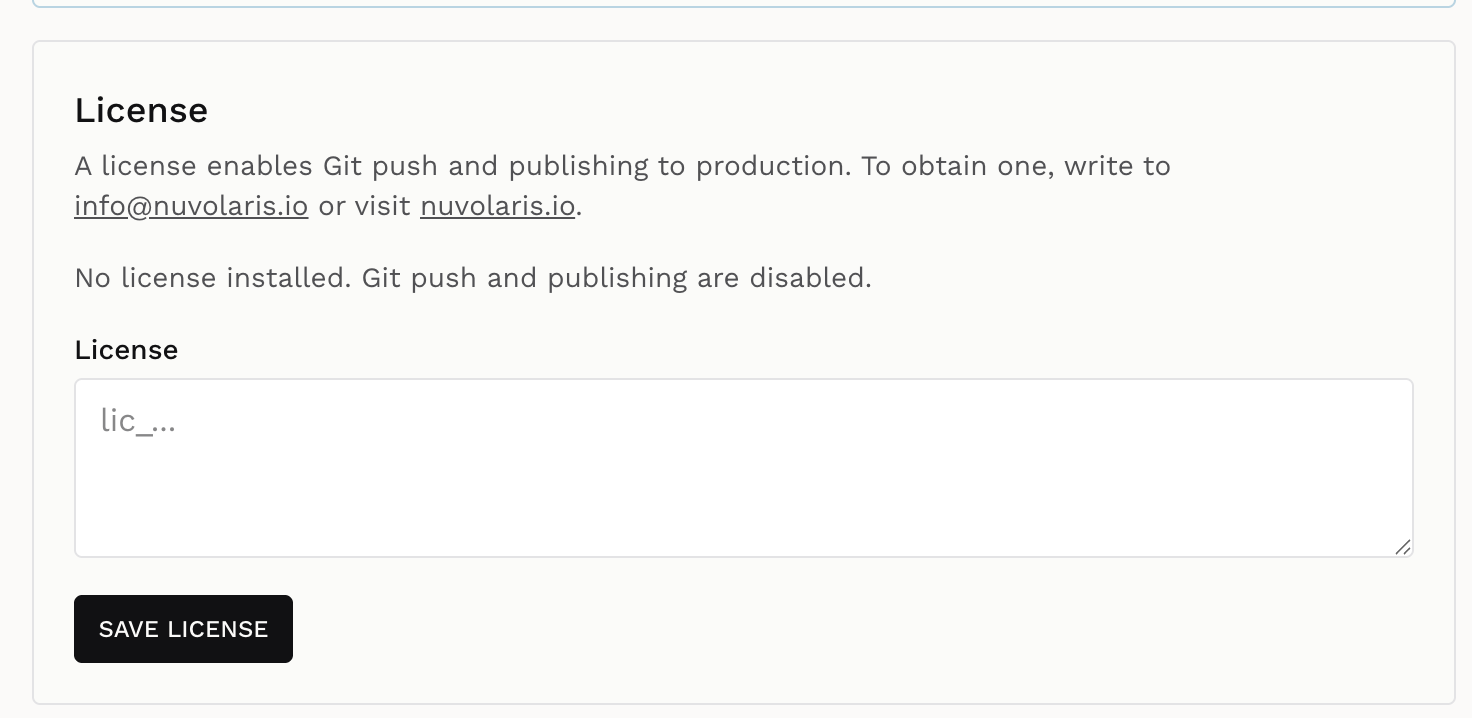
A license enables Git push and publishing to production. Everything else — creating applications, editing them with the AI assistant, running them locally, committing to the local repository — works without one. This card only appears when licensing is enabled on your installation.
The status line tells you where you stand. Here: “No license installed. Git push and publishing are disabled.”
Paste the token you were issued — it starts with lic_ — into the License
box and click SAVE LICENSE. To obtain one, write to
info@nuvolaris.io or visit
nuvolaris.io.
Verification is completely offline: the license is a signed statement checked against a public key built into Trustable, so no network call and no license server is involved. What it encodes is:
- who it was issued to, and when,
- an optional expiry date — the license is valid through the whole of that day and invalid from the next one. An expired license disables Git push as well as publishing.
- the list of cluster hosts you may publish to. Publishing to a host not on that list is refused even with a perfectly valid license. Local development clusters are exempt from the host check, though a valid license is still required.
Template Repository
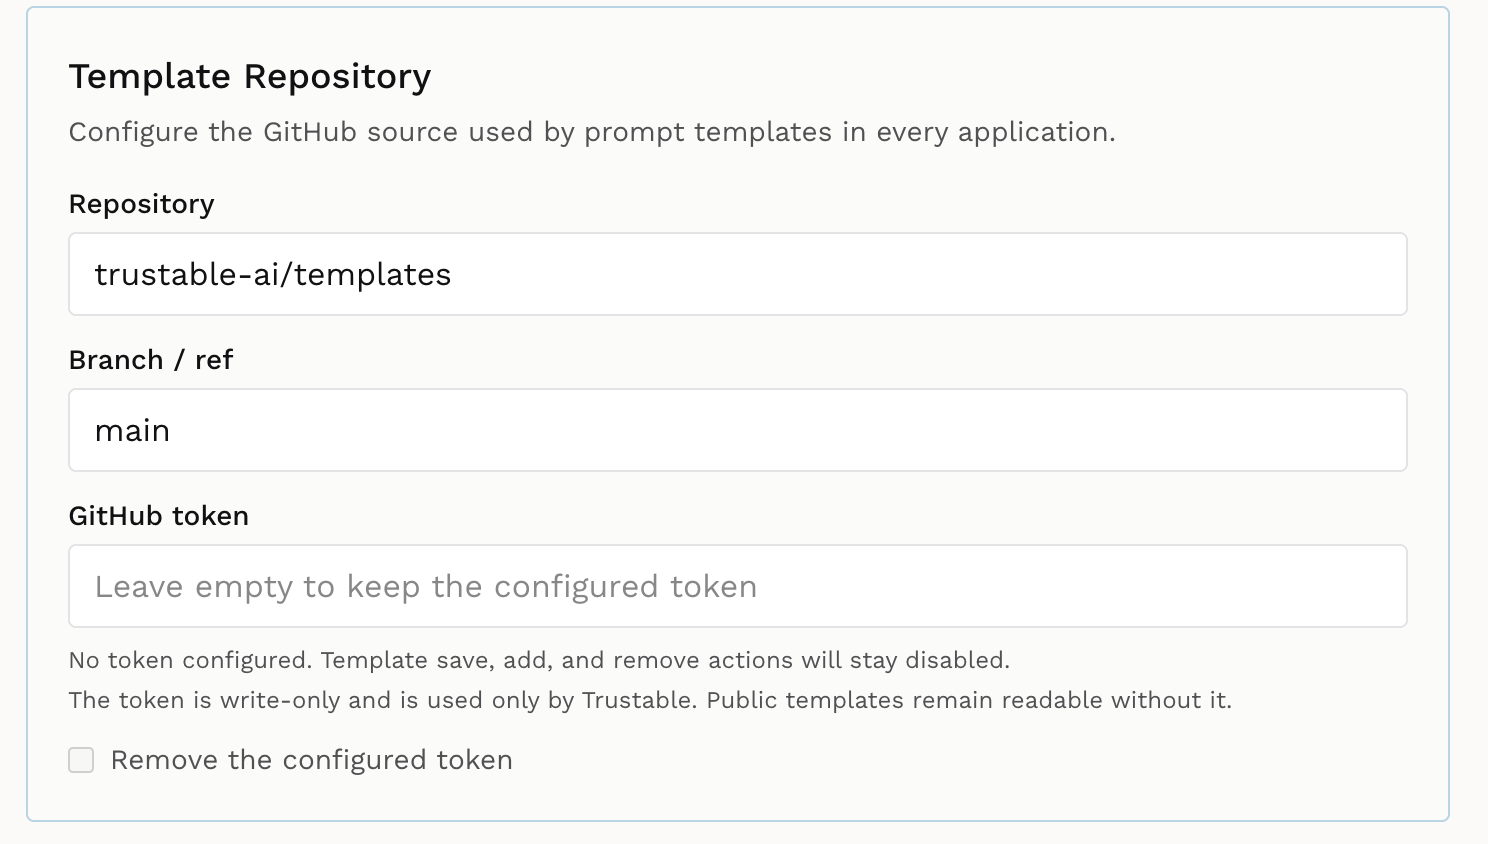
Prompt templates are reusable, multi-step recipes the assistant can run for you — see Templates. They are fetched from GitHub, and this card configures the source used by every application.
- Repository — the
owner/nameof the GitHub repository holding the templates. The default istrustable-ai/templates. - Branch / ref — which branch or tag to read. Default
main. - GitHub token — needed only to write. Reading public templates works without one, but saving, adding and removing templates from inside an application stays disabled until a token is configured, as the card warns.
The token field is write-only: Trustable shows whether a token exists but never displays it back. Leaving the field blank keeps the one already stored; to get rid of it, tick Remove the configured token. The token is stored as a protected file in your workspace, never in the shared configuration file, and is used only by Trustable itself.
An individual application can override the repository — a starter can bring its own template set — while this card supplies the default for everything else.
Predefined Environment Variables
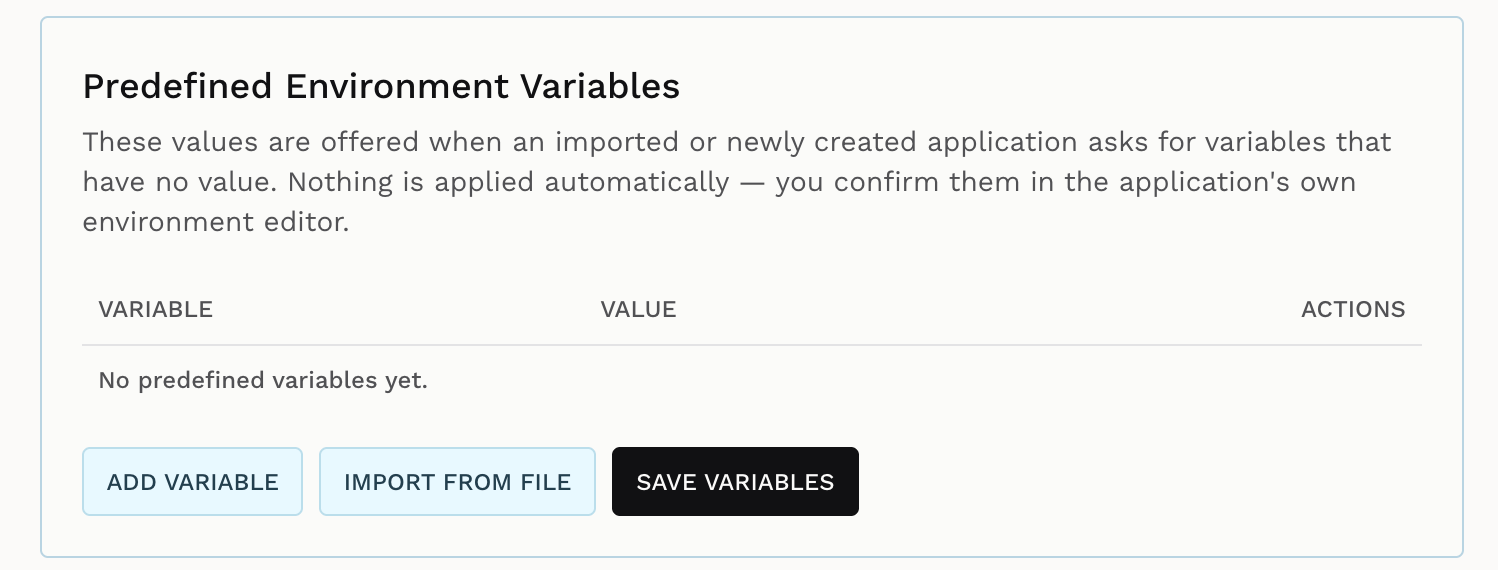
Applications declare the environment variables they need — an API key, a database URL. Values shared across several applications would otherwise have to be retyped for each one. This card is where you keep them once.
It is a palette, not a source, and the wording on the card says exactly that: “Nothing is applied automatically — you confirm them in the application’s own environment editor.” A predefined value never silently reaches an application. When a newly created or imported application asks for a variable it has no value for, its environment editor offers a Use predefined values button; only then, and only after you save there, does the value land in that application.
The controls:
- ADD VARIABLE — appends an empty row for you to fill in. Names must look like shell variables: letters, digits and underscores, not starting with a digit.
- IMPORT FROM FILE — fills the table from a local
.env-style file. The file is parsed in your browser and never uploaded. Values from the file win over rows already in the table, since you just chose that file deliberately. If any name is invalid the whole import is refused rather than half-applied. - SAVE VARIABLES — persists the table. This card saves on its own; it does not run a model test and does not navigate away.
An empty value is kept rather than dropped: it records the name as something you intend to fill in, and it will not satisfy an application’s requirement in the meantime.
Git User
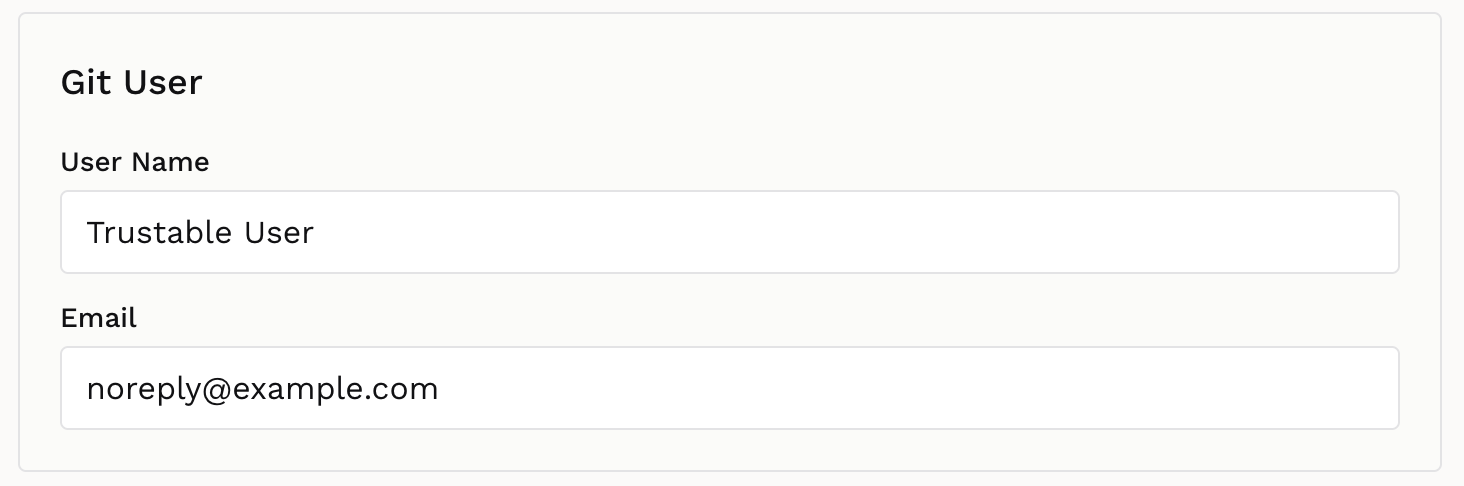
The name and email stamped on commits Trustable makes on your behalf — when you press Commit in the editor, or when it auto-commits a generated file.
This card is visible while no GitHub account is connected. Connecting one hides it, because the connected account already supplies the identity and showing both would be misleading. Your values are not deleted; disconnecting GitHub brings the card back with them intact.
GitHub Account
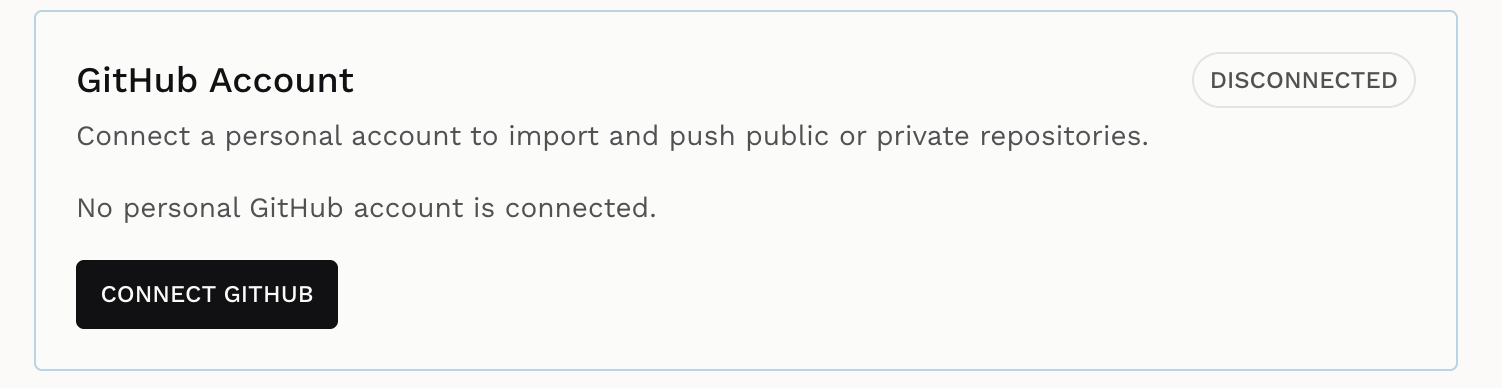
Connect one personal github.com account so Trustable can import and push
public or private repositories on your behalf. The pill on the right shows the
current state — here DISCONNECTED.
Click CONNECT GITHUB to start the GitHub device login: Trustable shows a one-time code and a button to open GitHub, you approve there, and the card switches to connected with your login name. A Disconnect action removes the connection and every credential Trustable stored for it.
Some points worth knowing:
- Credentials are held in an isolated, protected area of your workspace. They are never handed to the AI assistant, to your applications’ environment files, or to any terminal you open in the workbench.
- A connected account is the preferred way to reach repositories, over HTTPS. An SSH key remains available as a fallback and is offered behind a collapsed “Use an SSH key instead” option where a repository is needed.
- GitHub authentication is entirely separate from publishing authorization. Connecting GitHub does not grant the right to publish; that is the license.
The same connect form appears wherever a repository is needed — the Git Push popup, the Add Application dialog — and it is the same connection everywhere.
Save & Configure

SAVE & CONFIGURE commits the provider, model table and Pi model settings,
then immediately verifies them: it saves, then asks the chosen model to reply
OK. The button reports progress inline — Saving configuration…, Testing
connection…, Success — and on success returns you to the application list.
If the test fails you stay on this page with the error shown in a red box and a Retry button. Nothing bounces you back to the splash screen, because that would only re-run the same broken settings; instead you correct the form and try again.
If no default model is selected the button refuses to save and tells you “Please select the default model before saving.”
Note that the License, Predefined Environment Variables and GitHub Account cards have their own actions and are not covered by this button.